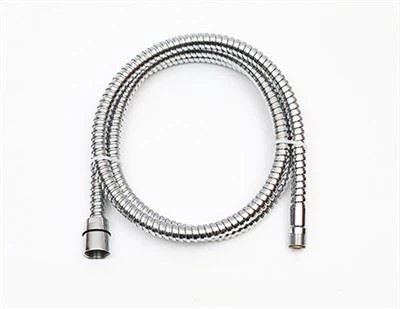
Hey there! I'm a supplier of braided faucet hoses, and I know that at some point, you might need to remove one. Whether it's for replacement, cleaning, or just to fix a pesky leak, removing a braided faucet hose isn't as hard as it might seem. In this blog, I'll walk you through the whole process step by step.
First things first, let's talk about why you might want to remove a braided faucet hose. Maybe it's old and starting to show signs of wear and tear. A worn - out hose can lead to leaks, which not only waste water but can also cause damage to your sink or countertop over time. Or perhaps you're just looking to upgrade to a better quality hose. We offer a variety of options like PVC Connection Hose, Nylon Braided Shower Hose, and Polyester Braided Hose that are durable and stylish.
Before you start the removal process, gather the necessary tools. You'll need a pair of adjustable pliers or a wrench. Make sure they're the right size to grip the hose fittings properly. You might also want to have a bucket or a towel handy to catch any water that might spill out.
The first step is to turn off the water supply. This is super important to prevent any flooding or water damage. Most sinks have shut - off valves located under the sink. These valves usually look like small knobs or levers. Turn them clockwise until they're fully closed. If you can't find the shut - off valves under the sink, you may need to turn off the main water supply to your house. But this is a last resort since it'll stop the water flow to the whole house.

Once the water is off, it's time to relieve the pressure in the hose. You can do this by turning on the faucet. Let the water run for a few seconds until it stops. This will make sure there's no water left in the hose under pressure.
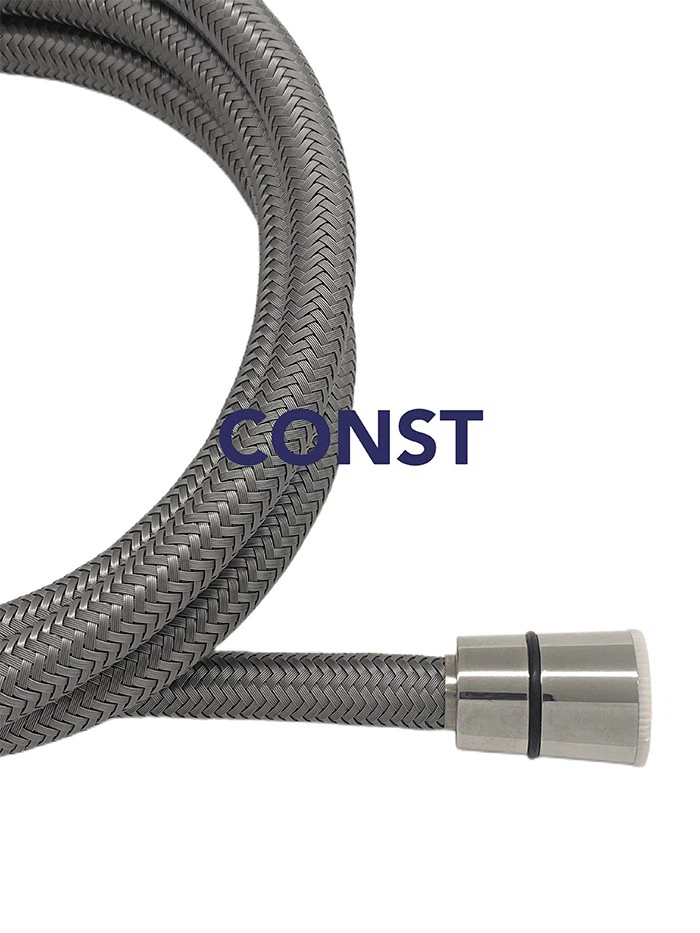
Now, locate the hose connections. Braided faucet hoses are typically connected to the faucet and the water supply lines under the sink. The connections are usually held in place by nuts. Use your adjustable pliers or wrench to loosen these nuts. Start with the nut at the faucet end. Place the pliers or wrench around the nut and turn it counter - clockwise. It might be a bit tight, especially if it hasn't been moved in a while. Don't use too much force at first; just apply steady pressure. If it still won't budge, you can try using a little bit of penetrating oil. Spray the oil around the nut and let it sit for a few minutes. This can help loosen up any rust or debris that's causing the nut to stick.
After loosening the nut at the faucet end, move on to the nut at the water supply line end. Repeat the same process of using the pliers or wrench to turn the nut counter - clockwise. Once both nuts are loose, you should be able to pull the hose away from the connections.
Be careful when removing the hose because there might still be a little water left in it. That's where the bucket or towel comes in handy. You can place the bucket under the hose to catch any drips, or use the towel to wipe up any spills.
Once the hose is removed, take a good look at the connections. Check for any signs of damage, like rust or cracks. If you notice any damage, you might need to replace the fittings as well. You can find replacement fittings at most hardware stores.
If you're planning to install a new hose, make sure it's the right length and size for your faucet and water supply lines. Before connecting the new hose, clean the connections to remove any dirt or debris. You can use a clean cloth or a small brush to do this.
To install the new hose, start by connecting it to the water supply line. Slide the nut onto the end of the hose and then thread the hose onto the water supply line. Use the pliers or wrench to tighten the nut, but don't over - tighten it. You just want it to be snug enough to prevent leaks. Then, connect the other end of the hose to the faucet in the same way.
After the new hose is installed, turn the water supply back on. First, turn on the shut - off valves under the sink counter - clockwise. Then, turn on the faucet to check for leaks. If you see any leaks, try tightening the nuts a little more. But be careful not to overtighten, as this can damage the fittings.
Removing a braided faucet hose is a pretty straightforward process if you follow these steps. It's a great DIY project that can save you money on plumbing repairs. And if you're in the market for a new braided faucet hose, we've got you covered. Our hoses are made from high - quality materials and come in a variety of styles to match your needs.
If you're interested in purchasing our braided faucet hoses or have any questions about the products, feel free to reach out. We're always happy to help with your plumbing needs and discuss your specific requirements. Whether you're a homeowner looking to upgrade your kitchen or bathroom, or a contractor working on a big project, we can offer the right products at competitive prices.
References
- General plumbing knowledge and experience in the braided faucet hose supply industry.
- Common practices for faucet hose removal and installation shared by plumbing professionals.